Brat Generator vs PosterMyWall: Headline Image or Full Flyer?
PosterMyWall is a template-based tool for posters, flyers and digital signage. The Brat Generator makes a bold headline image. They suit different stages of an event flyer: the generator for the headline, a layout tool for everything else.
PosterMyWall is a trademark of its owner. This page is an independent comparison and is not affiliated with or endorsed by PosterMyWall. Plans, prices and limits change often, so confirm current details on the vendor’s own pricing page before you decide.
Division of labor
| Flyer element | Where to make it |
|---|---|
| — | — |
| Bold headline | Brat Text Generator |
| Date, venue, price | Layout tool or any editor |
| Photos and logos | Layout tool |
| QR code | Any QR generator |
| Print file | Layout tool or PDF export |
When to skip the layout tool
If your flyer is only a headline and one line of details, you can place both in a free document editor. A layout tool is useful when you need photo grids, several text blocks or print-ready exports.
Print considerations
- Size: A4 or US Letter for flyers, A3 or 11 by 17 inch for posters.
- Resolution: 300 dpi at final size.
- Margins: keep key text at least 5 mm from the edge.
- Color: screens and printers differ; print a proof first.
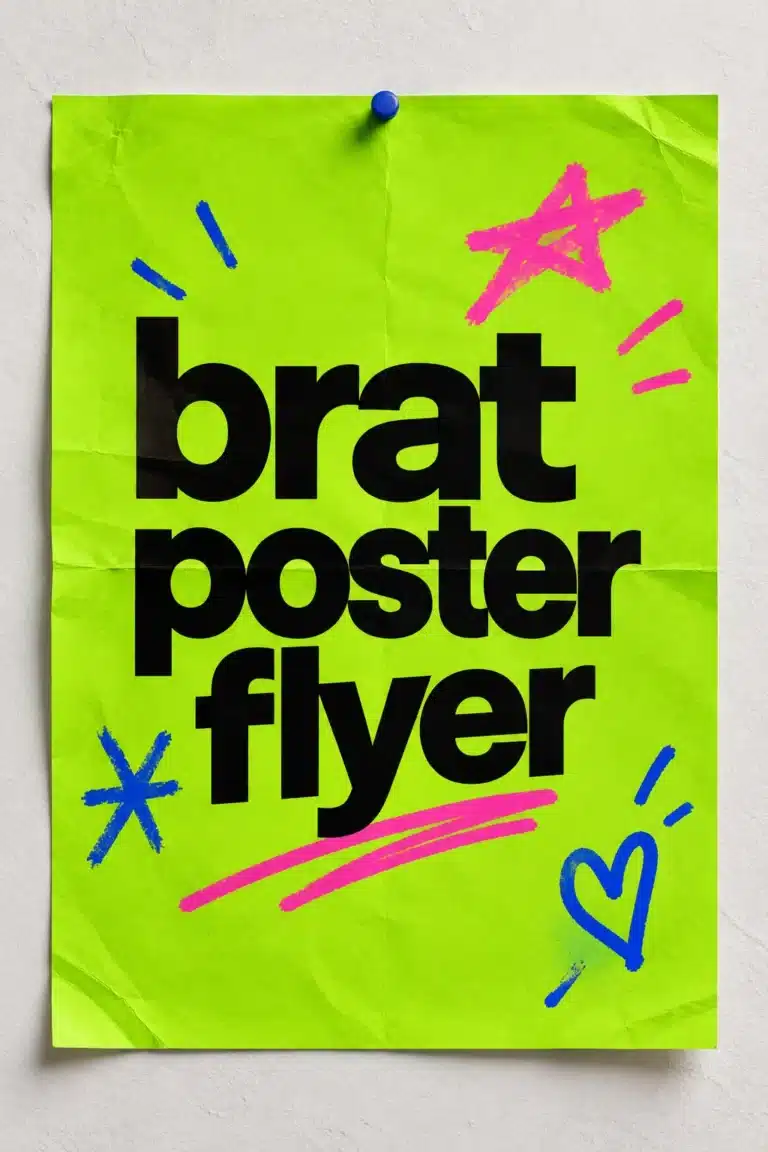
The poster and flyer guide and the event flyer design guide cover layout rules in more detail.
Workflow
- Make the headline PNG at the largest preset.
- Insert it at the top of a poster or flyer template.
- Add details beneath, in a readable size.
- Export a PDF for print and a PNG for sharing.
- Check proof copies for spelling and contrast.
Digital signage
For screens, use landscape sizes and large text, since viewers see it from a distance. Keep the message short and change it regularly.
Choosing paper and finish for a flyer
For handouts, 100 to 130 gsm uncoated paper is cheap and writes well. For posters, 170 gsm or heavier matte holds colour without glare. Glossy finishes make photos pop but show fingerprints. If the flyer carries a bold green background, ask the print shop for a proof, because large solid areas reveal banding and colour shifts more than text does.
Distribution that fits the tool you choose
A template tool is useful when you will make many flyers in different layouts. If you are producing one flyer per event, a single headline image and a free document editor are enough. Decide by volume, not by features you may never use.
A worked example: a bake-sale flyer
A school club needs a flyer for a bake sale. You make the headline “bake sale” in the generator, export PNG, and place it at the top of an A4 page in a free editor. Underneath you add “friday, 3 pm, main hall” in a plain font, and a line “all money to the school trip”. You print a proof, check the spelling and put twenty copies around the building. The headline gives it presence; the details are readable.
Checklist before printing
| Item | Check |
|---|---|
| Spelling | Read it aloud |
| Date and time | Confirm with organizers |
| Contrast | Test in grayscale |
| Margins | Keep text 5 mm from the edge |
| Contact | One method |
Digital and print versions
Make a square version for sharing online and a portrait version for print. Both use the same headline image.
Distribution tips
Post flyers where your audience actually goes. Check rules for posting in public places.
Print-ready flyer workflow
Suppose you are promoting a bake sale. Export the headline from the Brat Text Generator at the largest preset, drop it at the top of an A4 or Letter page in any layout or word processor, and add the date, venue and price below in a plain, high-contrast font. Template tools such as PosterMyWall are helpful when you want photo grids or ready-made layouts; for a headline plus three lines of text, a free document editor already does the job.
Before you print
Check that no text sits within 5 mm of the page edge, that the date includes the weekday, and that a QR code, if used, measures at least 2 by 2 cm. Print one proof and read it aloud for typos.
When a flyer needs a template tool
If your flyer has a headline and three lines of details, a free document editor is enough. If it needs photo grids, several text blocks, a map or a QR code with layout, a template tool saves time. Decide by the number of elements, not by habit.
Building a flyer step by step
- Write the details: what, when, where and how to respond.
- Generate the headline in the Brat Text Generator at the largest size.
- Place it at the top of an A4 or Letter page.
- Add the details in a plain font at 14 to 18 points.
- Add a QR code at least 2 by 2 cm if you need a link.
- Print a proof and check for typos.
Where to put the flyer
Place flyers where your audience already goes: noticeboards, community centres, cafes and school corridors. Ask permission, and remove them after the event.
Digital version
Export a square version for social media with the same hierarchy, and write the key details in the post text so they can be copied.
Frequently asked questions
Is a template tool required?
No, but it saves time when a flyer has many parts.
Where do I find colors?
See the colors guide.
Do I need a template tool?
Not for a simple flyer.
What size should I print?
A4 or Letter for notice boards.
Do I need a template tool to make a flyer?
Not for a simple flyer. A template tool becomes useful when you want multiple photos, many text blocks or print exports.
What size should I print a flyer?
A5 suits handouts, while A4 or Letter suits noticeboards.
Brat Generator is an independent tool and is not affiliated with, endorsed by, or sponsored by Charli XCX, her record label, or any related brand. Any album or trademark names are mentioned only to describe a visual style.