Brat Tote Bag Design: Print Methods Compared (Iron-On, Screen, Fabric Paint)
The design for a tote bag is the easy part; the production method decides how it looks after ten washes. This guide compares three realistic methods for a bold lowercase text design made in the free Brat Text Generator: iron-on transfer, fabric paint with a stencil, and ordering a professional print.
Choose a bag first
Cotton canvas holds up best. Pre-wash a new bag to remove sizing and prevent shrinking after printing. Pick a color that contrasts with your design. Natural canvas suits dark text; dark bags need light ink.
Three methods
| Method | Cost per bag | Durability | Skill needed |
|---|---|---|---|
| — | — | — | — |
| Iron-on transfer paper | Low | Moderate | Beginner |
| Stencil with fabric paint | Low | Good if heat-set | Intermediate |
| Professional print (screen or direct-to-garment) | Medium to high | Best | None, just ordering |
Method 1: iron-on transfer
- Export the design from the generator at the largest size, then mirror it in an editor if the paper requires it.
- Print on iron-on paper made for your printer type.
- Trim close to the design to avoid a visible film border.
- Press with an iron on the setting in the paper’s instructions, without steam, for the full time.
- Peel as directed, hot or cold, depending on the paper.
Wash inside out in cold water to extend life.
Method 2: stencil and fabric paint
- Print the design on regular paper and cut it out with a craft knife to make a stencil, or use freezer paper.
- Place a piece of cardboard inside the bag so paint does not soak through.
- Dab fabric paint with a sponge, pulling the stencil off carefully while the paint is still wet.
- Heat-set with an iron after drying, following the paint’s instructions.
Method 3: professional print
Ask for minimum order quantities and file requirements. Most printers want a high-resolution PNG or a vector file. Request a proof before approving a batch.
Sizing the design
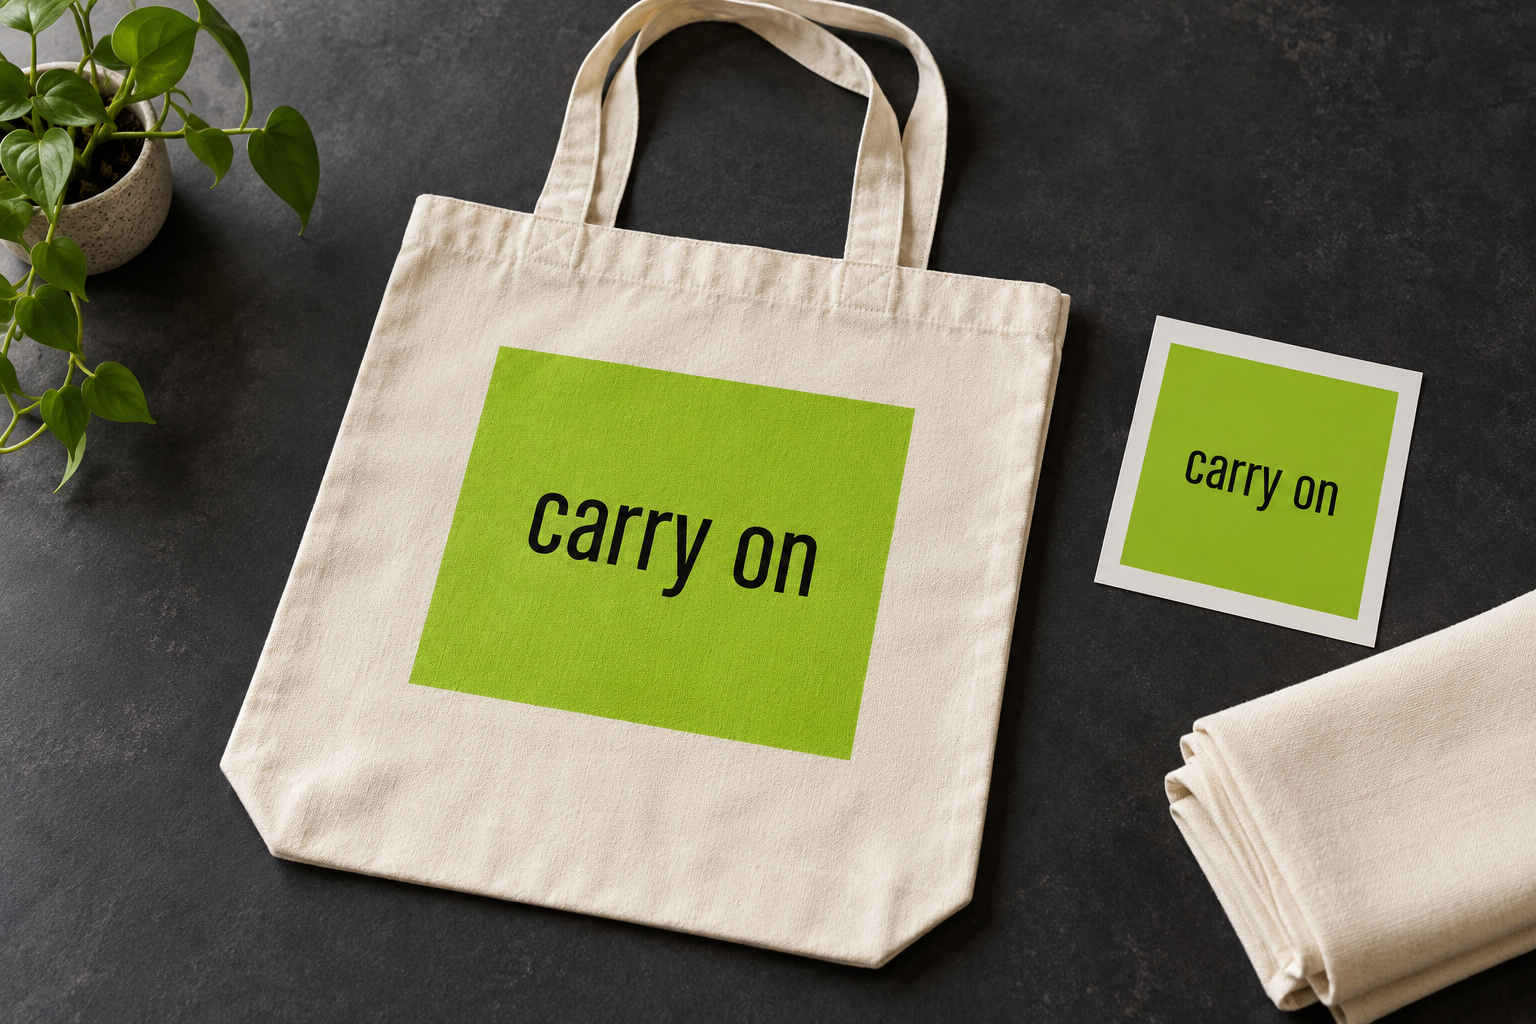
A common design width is 20 to 25 cm on a standard tote. Keep margins of at least 5 cm from the seams. Short text works best. See the colors guide for tested contrast pairs.
Selling totes
Original wording only; do not copy artist names or lyrics. The merch hub explains the basics.
Care instructions to include
If you sell or gift a tote, include simple care notes: wash inside out in cold water, air dry and iron on the reverse side. Clear instructions reduce complaints and make the product feel considered.
Sizing the design to the bag
A standard tote is about 14 by 16 inches. A design 8 to 10 inches wide sits comfortably, leaving room around it. Mark the placement with tape before pressing or painting.
A worked example: a market bag
A seller makes ten totes with the word “market” in black on natural canvas. She prints iron-on transfers at 22 cm wide, presses each bag for the full time listed on the paper, and does a wash test on the first one. After two washes, the print shows slight cracking at one corner, so she switches to a better transfer paper and tests again. The second batch holds up.
Quality control checklist
| Test | Pass |
|---|---|
| Wash test (two cycles) | No peeling |
| Rub test | No smearing |
| Strap strength | Holds a loaded bag |
| Print alignment | Centered |
Pricing note
Count bag cost, transfer paper, ink, time and platform fees.
Preparing the bag and the artwork
Pre-wash the tote so the fabric finishes shrinking before you print; otherwise a design can pucker after the first wash. Iron it flat, and slip a piece of cardboard inside so ink or paint cannot bleed through to the back. Centre the design horizontally and place it roughly 3 to 4 inches below the top edge, at least 2 inches clear of side seams.
Three ways to put the design on fabric
| Method | Best for | Trade-off |
|---|---|---|
| Iron-on transfer paper | One or two bags | Slight plastic feel; follow temperature instructions |
| Fabric paint with a stencil | Simple one-colour text | Needs a steady hand and drying time |
| Professional print shop | Larger batches | Setup fees and minimum orders |
Selling totes legitimately
If you plan to sell, use only your own wording and artwork, and keep album titles, logos and artist names off the product. Record the cost of the bag, transfer or paint, and your time before choosing a price.
Choosing the right bag
Canvas and cotton bags take paint and transfers well. Look for a smooth weave and a weight around 8 to 12 ounces for sturdy use. Natural and white colours show black text clearly. Avoid heavily textured bags for fine lettering, because the print can look uneven.
Testing before you commit
Try your method on a spare piece of the same fabric to see how the colour looks, how it feels and how it survives a wash. Adjust temperature, pressure or paint thickness before doing the real bag.
Sizing graphics for different bag shapes
Tote bags come in different shapes: standard, gusseted and long-handled. Measure the usable area on your actual bag, not a catalogue photo. A design that is about one third of the bag width looks balanced, and a design that fills most of it looks bold. Put a paper template of the design on the bag before printing to judge the effect.
Frequently asked questions
Will iron-on crack?
Cheap paper can crack after washes. Check the paper’s rating and wash gently.
Can I use a dark bag?
Use transfer paper made for dark fabrics, or use a white base layer.
Can I print on colored bags?
Use paper for dark fabrics.
How do I wash it?
Cold, inside out, and air dry.
Will the print survive washing?
Usually, if you follow the transfer or paint manufacturer’s heat-setting instructions and wash inside out in cold water.
What colour of bag works best?
Black text reads best on a light bag; for a dark bag, invert the design or use a light ink.
Brat Generator is an independent tool and is not affiliated with, endorsed by, or sponsored by Charli XCX, her record label, or any related brand. Any album or trademark names are mentioned only to describe a visual style.