Brat Party Invitation Design: Layout, Wording, Print Specs and RSVP
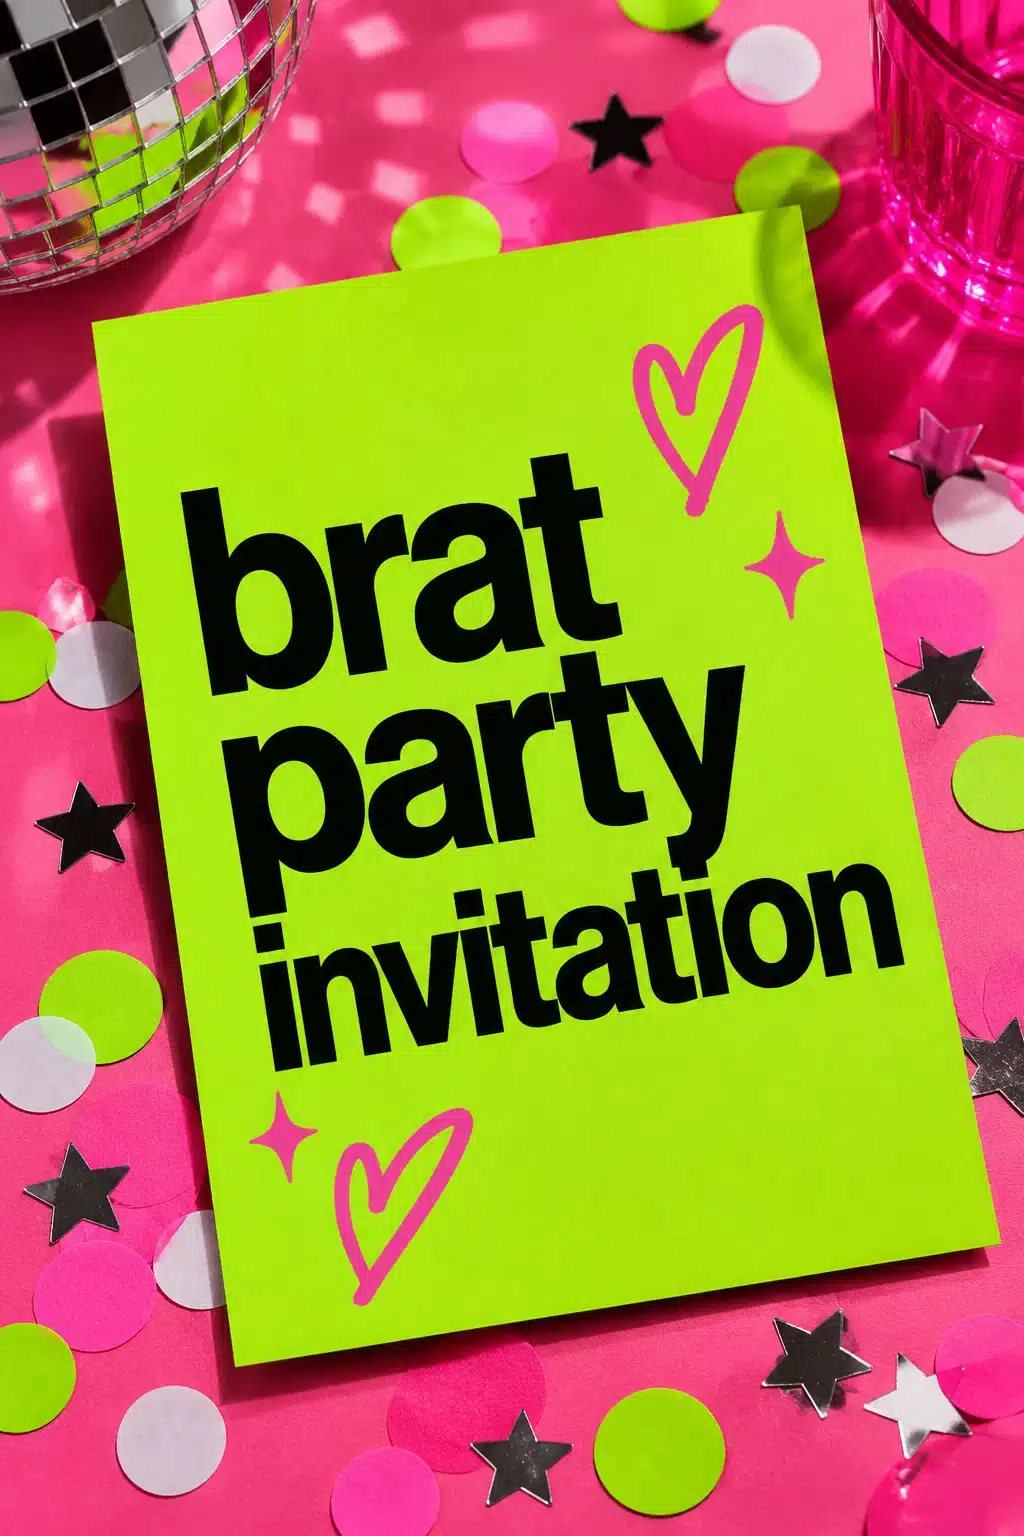
This guide is about the invitation itself, whatever the occasion: what to include, how to lay it out, what size to print and how to collect replies. It uses a bold lowercase graphic from the free Brat Text Generator as the headline, with clear text underneath.
What every invitation must include
| Element | Why |
|---|---|
| Occasion | Guests decide whether to come |
| Date and start time | Add an end time if it matters |
| Address | Add a parking or transit note if needed |
| Host name and contact | For questions |
| RSVP deadline | Lets you order food and seating |
| Dress code or theme | Only if it affects guests |
A graphic carries the mood; the table above carries the information.
Layout that reads at a glance
Put the graphic at the top, then a short line stating the occasion, then date, place and RSVP in order. Limit yourself to two sizes of text. Leave generous margins: crowded invitations look cheap. Keep the graphic to a few words, because large type is what makes the brat style recognizable.
Print specs
- Common sizes: 12.7 by 17.8 cm (5 by 7 inch) card, or A6 (10.5 by 14.8 cm) for a postcard-style invite.
- Resolution: 300 dpi at final size; export the generator image at the largest preset.
- Paper: matte card stock of at least 250 gsm feels sturdy.
- Bleed: if the background color runs to the edge, ask the printer for a 3 mm bleed.
- Proof: order one before the full batch.
Digital invitations
For a digital invite, export a square or vertical image and paste the details into the message below it, so the text is searchable and can be copied into a calendar. Do not put the address only inside the image, since it cannot be copied.
Wording tips
Keep tone consistent with the event. Short and friendly wording fits informal parties; formal events need complete sentences. Write the date with the weekday, such as “Saturday, 14 June”, to prevent mistakes. State whether children are welcome and whether a plus-one is included.
Collecting RSVPs
Put one contact method on the invitation, not three. Ask guests to reply by a date at least a week before you need the count. Follow up politely with those who have not replied.
Accessibility
Use high contrast between text and background. The Brat colors guide shows which pairs are readable. Avoid very small text, and mention if the venue has step-free access.
Mistakes to avoid
- Missing end time, which leaves guests guessing.
- Putting every detail in the graphic.
- Choosing low-contrast colors.
Writing the details clearly
Use a short headline, then four lines: date and time, place, what to bring and how to reply. Add an RSVP deadline at least a week before the event so you can plan food. Include a name and phone number for questions.
Sending and tracking replies
Send invitations in the same channel your guests use. Keep a simple list of yes, no and maybe, and send a gentle reminder to those who have not answered.
A worked example: a dinner party invitation
A host writes: headline graphic “dinner at ours”, then “Saturday, 14 June, 7:30 pm”, “12 Example Street, buzzer 4”, “Vegetarian options available”, “Please reply to Sam by 7 June”. Five lines, and every question a guest might ask is answered. She sends it as a message with the image first and the text below, so people can copy the address.
Checklist before sending
| Item | Check |
|---|---|
| Date and weekday match | |
| Address is complete | |
| Contact works | |
| RSVP date is clear | |
| Image under 1 MB for chat |
Digital versus printed
Digital invitations are faster and can be updated. Printed ones feel special for formal events.
Planning timeline for the party invitation
4 weeks before the event: send the digital invitation. 2 weeks: send a reminder. 3 days: send a final note with the address and times.
The choice that shapes your invitation
Put the event name, date, time, place and RSVP deadline in the first lines, and design the headline around them.
Care, safety and inclusion
Include contact details for questions and mention any dietary or accessibility information.
Budget check
Digital invitations are free or cheap. Spend only on printing if you want physical cards, about 1 to 3 dollars per card, depending on paper and quantity. Write down a total before buying anything and keep a small reserve for surprises.
Before the day
- Check names, dates and the address twice.
- Add an RSVP deadline.
- Include a contact number for questions.
Writing the invitation for a mixed audience
Guests include people of different ages and needs, so put practical details first: date, time, address, parking or transport notes and any accessibility information. Add one line about dress code if it matters.
Accessibility of the design
Keep text at a readable size and make sure the contrast is high. Do not put key details only inside a decorative image. Repeat them in plain text in the message so everyone can read them, including people using screen readers.
Choosing invitation wording
Write invitations in your natural voice. A friendly line such as you are invited to celebrate with us works for most events. Add any details guests need to prepare, such as a request to bring a dish or a note about parking. Proofread aloud, and ask someone else to check dates and times, since mistakes there cause the most confusion on the day.
Frequently asked questions
How early should invitations go out?
Three to six weeks, longer for events that need travel.
Where are occasion-specific ideas?
See the party hub.
How do I handle plus-ones?
State it clearly on the invitation.
What if someone does not reply?
Send one polite reminder.
What must an invitation include?
Event name, date, time, place, host, RSVP details and any dress code.
Should I send printed or digital invitations?
Digital is faster and cheaper; printed suits formal events.
Brat Generator is an independent tool and is not affiliated with, endorsed by, or sponsored by Charli XCX, her record label, or any related brand. Any album or trademark names are mentioned only to describe a visual style.