Brat Iron-On Patch: Making a Fabric Patch for Jackets and Totes
A patch is a durable way to put short text on a jacket, bag or cap. This guide covers two ways to make one from a design in the free Brat Text Generator: a printable iron-on method and an embroidered-style method, with the edge finishing that stops patches from fraying.
Choose the method
| Method | Look | Durability |
|---|---|---|
| — | — | — |
| Printed iron-on on cotton twill | Flat print | Moderate |
| Felt cut-out letters | Soft, thick | Moderate |
| Ordered embroidered patch | Raised stitches | High |
For ordered embroidery, send the PNG to a patch maker. They will convert it to a stitch file and send a proof.
DIY printed patch
- Export the design from the generator on a solid background.
- Print on printable fabric sheets, or on iron-on paper onto a piece of cotton twill.
- Cut a border around the design 3 mm wide.
- Apply heat-bond backing (a fusible web) to the back by ironing.
- Seal the edges with fabric glue or a zigzag stitch to stop fraying.
- Place the patch on the garment, cover with a cloth and press with firm pressure for about 30 seconds.
- For high-wear items, add stitches around the border.
Placement
Measure before pressing. On a jacket, mark the spot with chalk and use a ruler to keep it level. Avoid seams and thick zippers.
Washing
Turn the garment inside out and wash in cold water. Skip the dryer if possible, since heat loosens the adhesive.
Choosing colors
High contrast reads best on fabric. See the colors guide.
Selling patches
Use original wording and avoid protected logos. See the merch hub.
Mistakes to avoid
- Pressing without a cloth, which can scorch.
- Skipping the edge seal.
- Putting the patch on a stretchy fabric without stitching.
Choosing patch shapes and sizes
Rectangles are easiest to cut; circles and rounded rectangles look neater but need care. Keep patches between 2 and 4 inches across for jackets and bags. Smaller text becomes unreadable on textured fabric, so use one or two words.
Edge finishing
For durability, stitch around the border or use a fabric glue designed for edges. A neat zig-zag stitch also looks decorative.
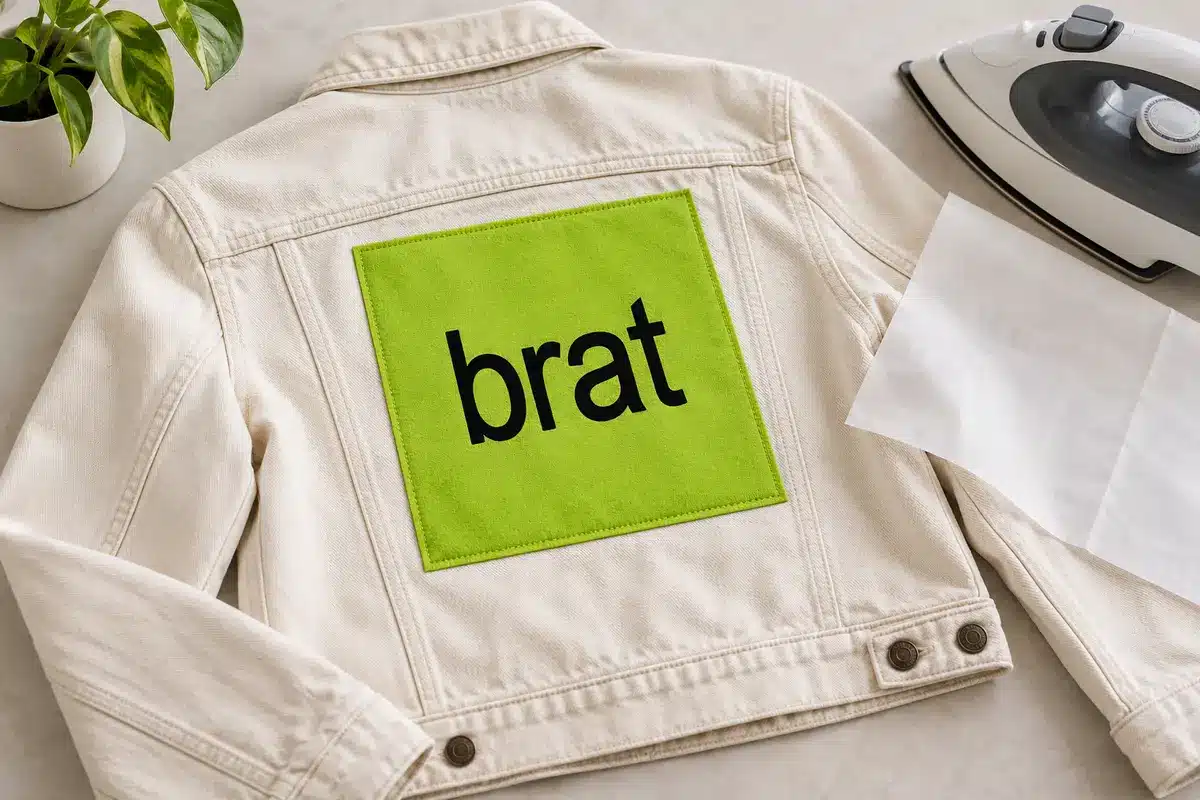
A worked example: a name patch on a denim jacket
You print the word “dana” in black on lime, cut a 6 by 3 cm patch from cotton twill with a 3 mm border, apply fusible web to the back and seal the edges with fabric glue. You place it on the jacket back pocket, press for 30 seconds through a cloth and let it cool. Then you sew a running stitch around the border for durability. After five cold washes inside out, the patch still holds.
Troubleshooting
| Problem | Fix |
|---|---|
| Edges fray | Seal with glue or stitch |
| Patch lifts after washing | Press longer or stitch around the border |
| Print fades | Use fabric-rated printable sheets and avoid high heat washes |
| Fabric scorched | Use a pressing cloth and lower the heat |
Choosing between iron-on and sew-on
Iron-on is faster; sewing is stronger. For items washed often, such as jackets, use both. For decoration, iron-on alone is fine.
Cost estimate
Materials for a small DIY patch are cheap, often a fraction of a bought one. Ordered embroidered patches cost more but last the longest.
Testing before you press the final patch
Cut a small test piece from the same fabric as your jacket, because cotton, denim and polyester all react differently to heat. Press the test at the transfer paper’s recommended temperature, peel it as instructed (warm or cold peel), and wait a day. If an edge lifts or the colour cracks, lower the temperature slightly or press for longer, then test again.
Mirroring and placement
Most iron-on transfer papers need the design mirrored before printing; skipping this is the most common reason text comes out backwards. Place the patch on a flat surface, measure from the seam rather than guessing by eye, and use a pressing cloth so the surface does not scorch. Avoid seams, zippers and thick stitching, which prevent even pressure.
Care after pressing
Wait 24 hours before washing, turn the garment inside out, wash cold and air dry. Ironing directly over the patch can lift the edges, so press from the reverse side.
Choosing a patch material
Heat-transfer paper works on light fabrics, while dark fabrics need paper designed for them, which usually has a white backing layer. Sew-on patches made from felt or twill are more durable but need stitching. Choose based on the garment and how often it will be washed.
Aftercare reminder
Keep a note of the transfer paper brand and the temperature you used, so you can repeat or adjust the process next time. If a patch peels, lightly re-press it under a cloth and stitch the edges.
Mistakes to avoid when pressing
Common problems are pressing too briefly, using uneven pressure and ironing over seams. Use a hard, flat surface instead of an ironing board, because boards absorb pressure. Press firmly for the full time recommended, and let the patch cool before peeling if the instructions say so. If the edges lift afterwards, repeat the press under a cloth for a few seconds.
Frequently asked questions
Will the patch survive washing?
Sewn patches last longest.
Can I make multiple at once?
Yes, arrange several on one sheet. A related guide is the tote bag design.
Can I use a normal printer?
Yes, with printable fabric sheets rated for your printer type.
Can I reuse a patch?
Sewn patches can be removed and moved more easily than glued ones.
Can I iron a patch onto nylon?
Often not safely, because high heat can melt synthetic fabrics. Test on a hidden spot and follow the fabric care label.
What if the patch peels after washing?
Re-press it under a cloth for a few more seconds, or stitch around the edge for a more durable finish.
Brat Generator is an independent tool and is not affiliated with, endorsed by, or sponsored by Charli XCX, her record label, or any related brand. Any album or trademark names are mentioned only to describe a visual style.